How to check a used stand mixer before mixing at home
Quick answer
Identify the exact mixer and bowl, inspect the cord and locking mechanism, and test normal speed changes with the correct attachment. Check that the beater clears the bowl and that the mixer handles a suitable small load without grinding or slipping. Price missing bowls and tools by model. Do not assume an oil drip proves a ruined motor or that all leaks are harmless.
Identify the model before valuing the accessories
Ask for the model label, bowl and every included attachment laid out separately. A familiar mixer silhouette does not establish the capacity, mechanism or compatibility of a second-hand bowl. Check the maker’s parts information for the exact model before crediting an accessory bundle with substantial value.
Decide what you will mix most often. Small batches of batter, whisking and regular bread dough are different uses. Read the manufacturer’s capacity, speed and duty guidance for the particular recipe type. A high motor wattage claim does not independently establish how much stiff dough a used machine can handle.
Check the physical space at home. A tilt-head mixer needs clearance to raise the head; a bowl-lift design has its own bowl-removal and storage needs. Measure the counter position and consider whether you can comfortably move its weight when required.
Make a three-part fit record: mixer model, bowl part and attachment part. Verify each required combination through the maker’s documentation. A second bowl of similar capacity may have a different mounting arrangement or require a different beater. Value a spare only after confirming that the complete combination is usable.
For a concrete example, suppose the included flat beater clears the supplied bowl, but a spare whisk scrapes its side. Stop and identify the whisk and bowl rather than adjusting the mixer to make one uncertain part fit. A verified compatible replacement tool is a bounded cost. A bent shaft or mount is a different repair question. Do not run the scraping accessory to prove a point.
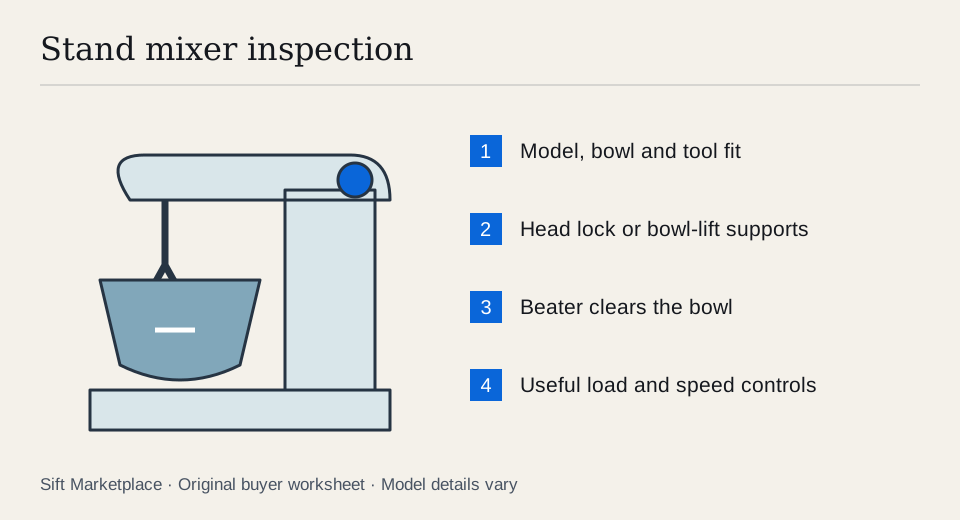 Enlarge diagram
Inspect it unplugged first
Check the cord and plug for damage. Inspect the head hinge or bowl-lift mechanism, locking controls, bowl supports and base. Look for cracks, stripped mounting points and repairs that keep a loose mechanism in place.
Fit the bowl and each basic attachment with the seller’s help. Confirm the bowl seats securely and the attachment fastens normally. Look for chipped coatings, bent tools and wear where a beater may have rubbed the bowl. Do not run a damaged attachment merely to prove the motor turns.
Check around the beater shaft and housing seams for oil. KitchenAid explains that oil may separate from the internal grease after storage or in warm conditions. That makes an isolated drip different from a diagnosis of total failure, but it does not establish that an actively leaking or noisy mixer needs no service. Ask when it started, how often it occurs and what work has been done.
Watch a normal mixing demonstration
Agree on a small suitable batch or load before meeting. Use the correct bowl and tool, follow the manual and keep hands and utensils out while the mixer runs. Do not ask the seller to knead an extreme load as a strength challenge.
- Start at the lowest appropriate speed. Check that the control moves predictably and the attachment begins normally.
- Change through useful speeds. Listen for abrupt grinding, slipping or changes inconsistent with the setting. Do not run an attachment at a speed the manual prohibits.
- Observe the bowl and lock. The bowl should remain properly seated and the head or lift mechanism should hold its intended position.
- Check clearance during ordinary operation. Look and listen for beater-to-bowl contact. Stop before adjusting anything.
- Mix the agreed small load. Check whether the drive continues consistently and the attachment reaches the mixture as expected.
- Stop and inspect. Look for fresh leaks, coating debris or abnormal movement. Disconnect power before touching attachments.
- Test the accessory drive if it matters. Use a compatible accessory under its normal instructions; an unused hub cover alone does not prove the drive works.
KitchenAid’s troubleshooting guide covers beater clearance and common operating issues. Use the exact model’s adjustment procedure, including any bowl-specific exceptions. Do not turn a generic internet coin test into proof that every bowl and beater combination is correct.
Distinguish a small adjustment from an uncertain repair
If the seller says a scraping beater only needs adjustment, have them make the permitted adjustment and repeat the test. If the mixer still contacts the bowl, the parts may be mismatched or another problem may remain. Value the observed condition.
If the motor runs but the attachment stops under an appropriate light load, obtain a repair assessment before treating it as a simple cleaning job. A shiny exterior cannot tell you whether gears, controls or bearings need work.
Agree on a demonstration representative of the purchase. A small appropriate batter can show bowl security, useful speed control and ordinary mixing, while an empty spin mainly shows unloaded movement. Neither establishes how the machine handles a bread recipe it was not designed to knead. If dough is your central use, compare the manufacturer’s stated recipe/capacity conditions and arrange a reasonable supported demonstration.
Keep two leak observations: what was present before startup and what appears after ordinary use. A seller wiping the housing clean can make the first observation unavailable, so ask about that history directly. A small old stain with normal operation and documented history differs from fresh recurring leakage plus grinding. Obtain a service assessment for the latter rather than applying a guessed grease or seal allowance to the asking price.
| Check | Record |
|---|---|
| Identity | Exact model and bowl part |
| Tools | Correct flat beater, whisk and dough hook as needed |
| Mechanical fit | Bowl seated, head or lift secure |
| Clearance | No observed scraping with the correct setup |
| Operation | Speeds and appropriate small load demonstrated |
| History | Leak details and documented service |
| Missing parts | Actual compatible replacement quote |
Compare the cost of a ready kitchen setup
An illustrative $100 mixer requiring a $70 bowl and $35 beater totals $205 before any service. A $180 complete mixer that passes the same test may be cheaper to use. Those are example inputs, not current part prices. Put real replacement quotes into the cost calculator.
A collection of pasta rollers or grinders adds value only if compatible, clean and useful to you. Inspect those accessories separately, and avoid assuming that an attachment fitting the hub guarantees every other included part matches.
Clean food-contact parts after purchase using the maker’s instructions; dishwasher suitability can differ by material and attachment. Transport the mixer upright and secure its bowl and loose tools separately. Do not carry it by a projecting attachment or bowl handle unless the manufacturer identifies that as an approved method.
Sift, a free Facebook Marketplace filter and scam checker that also works on Kijiji, helps focus local model searches on Chrome on a computer. Use listing-word filters and recorded prices to compare complete mixers worth seeing in action.
Questions people ask
Does oil leaking from a KitchenAid mean the mixer is broken?
KitchenAid explains that oil can separate from the grease, especially after storage or in warm conditions. That does not diagnose every leak. Ask about quantity, recurrence and service history, then assess noise and operation before deciding whether service is needed.
Will any KitchenAid bowl fit a used KitchenAid mixer?
No. Confirm the exact mixer model, bowl style and compatible part number. Tilt-head and bowl-lift designs, capacities and generations can require different bowls and attachments.
Should the beater touch the bottom of the bowl?
Follow the manufacturer’s clearance instructions for the exact mixer, bowl and attachment. Do not accept obvious scraping or chipped coating as normal. A generic coin test is not appropriate for every bowl and model.
Sources
- 01KitchenAid Oil leaking from a stand mixer
- 02KitchenAid Stand mixer troubleshooting guide