How to inspect a used tent by pitching the whole shelter
Quick answer
Pitch the complete tent with its fly, poles and required stakes before buying. Inspect the floor and fly for sticky or flaking coatings, peeling seams, holes and persistent odour, then test zippers and pole connections. Check the actual floor dimensions against your sleeping mats. A clean packed bag does not prove a tent is complete, weatherworthy or comfortable for your trip.
Match the tent to the trip and the people
Start with the intended conditions, campsite access and how far you will carry the tent. A large car-camping tent and a compact backpacking shelter solve different problems. Do not infer suitability for exposed winter conditions from a seller calling a tent “four season”; verify the actual model and manufacturer’s intended use.
Ask for the model and version, floor dimensions, packed dimensions and the included components. Compare the floor shape with your sleeping mats. Tapered floors can reduce usable width at one end, and a low roof can make sitting up uncomfortable even when the floor length appears generous.
Write down whether you need two doors, sheltered storage, space for a dog or a porch for wet equipment. Those practical requirements are more useful than choosing solely by the capacity number or claimed original retail price.
Use the actual mat shapes as a fit check. In an illustrative example, two rectangular mats 25 inches wide need 50 inches side by side before any allowance for your preferred spacing. A tent whose floor tapers below that combined width may overlap or curl those mats at one end even if its widest point looks sufficient. Measure the relevant part of the floor rather than relying only on “two person”.
Check usable height where your head and shoulders will be, then open each door from the normal sleeping position. Count packed pieces separately: inner, fly and poles may be carried in different bags, so a quoted fabric-only weight is not the weight of the complete shelter you will carry. Use the complete manufacturer’s specification and your actual packed inventory when comparing candidates.
 Enlarge diagram
Arrange a full pitch on a clean surface
Ask the seller to bring every component and allow enough space to assemble the tent normally. A bag full of fabric cannot reveal pole length, missing connectors or a fly that belongs to a different version. Use the maker’s pitch instructions and avoid forcing poles into an unfamiliar arrangement.
Lay out the inner, fly, poles, stakes, guylines and footprint if included. Check them against the model’s parts list. A footprint may be optional, while a particular pole hub or fly connector may be essential. Treat those differences separately when pricing missing items.
Inspect components before tensioning them. Look for cracked pole sections, bent ferrules, frayed shock cord and damage around sleeves or clips. A repaired pole is not automatically unusable, but the repair needs to be identified and its replacement path understood.
Check fabric and coatings from both sides
Hold fabric up to ordinary light to inspect holes and thinning, without stretching it hard. Look around corners, guy attachments, pole contacts and the floor’s high-wear areas. Check that repairs are secure and suitable for the fabric type.
MSR’s care guidance explains that prolonged damp storage can cause waterproof coatings to break down, becoming sticky and ineffective. Widespread tackiness, flaking and a strong persistent odour deserve close attention. Do not assume every coating problem can be solved by spraying a water-repellent treatment on the outside.
Inspect seam tape and stitched seams, especially on the floor and fly. A small local seam repair is different from tape peeling throughout the shelter. Check the manufacturer’s repair guidance for the coating type before assuming a generic sealant will bond properly.
MSR’s storage advice also warns against wet, damp or dirty storage. Use the actual tent’s cleaning instructions; do not apply bleach, a washing-machine cycle or an improvised chemical during inspection.
Test the assembled shelter systematically
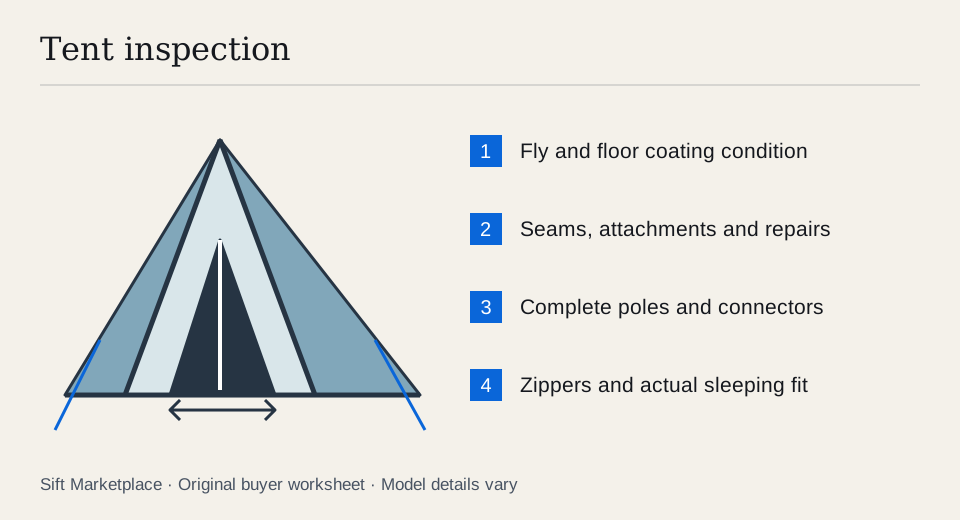
- Seat every pole connection fully. Follow the correct pitch sequence and watch for sections that separate, bind or distort abnormally.
- Attach the inner and fly. Confirm clips, buckles and colour-coded ends correspond. A near-fitting fly may be from a different version.
- Tension normally. Check that required guylines and stake points can be used without torn fabric or failed fittings. Do not stress-test a damaged attachment.
- Open and close every zipper. Try doors, mesh panels and vestibules under normal tension. Look for teeth separating behind the slider or fabric repeatedly catching.
- Check floor and sleeping fit. Place your mats or their measured outline inside. Sit and lie in the usable space without shoes or sharp equipment.
- Inspect fly clearance and vents. Check the intended arrangement rather than allowing a badly pitched fly to touch the inner everywhere.
- Review each repair and missing part. Decide whether it affects comfort, pitching or weather protection and get an actual replacement quote.
If the seller agrees to a gentle water test, use the manufacturer’s guidance and allow the tent to dry completely afterward. Look inside at seams and the floor while distinguishing rain penetration from condensation or water introduced during the test. A short demonstration cannot guarantee performance in future weather.
Keep isolated repairs separate from widespread ageing. One small patched puncture with intact surrounding fabric is a different condition from flaking across the fly or seam tape lifting along many seams. If the seller says a zipper merely needs adjustment, have them correct it and repeat the door operation under a normal pitch. A zipper that separates again remains unresolved.
Ask before travelling: “Can we pitch the exact inner, fly and poles together, check both sides of the coatings, and try every door?” If the answer is only a photograph of a packed sack, it cannot establish those conditions. For a nearby car-camping trip you may accept a known minor limitation; for a remote or exposed trip, an untested weather-protection claim deserves a different decision. The inspection helps compare the actual tent and uncertainty, not certify it for any forecast.
Price repairs without treating the tent as certified
| Finding | Practical decision |
|---|---|
| Dirty but intact fabric | Follow model-specific cleaning guidance |
| A small identified patch | Inspect workmanship and the underlying cause |
| Weak shock cord | Price correct replacement and labour |
| Missing pole section or hub | Confirm exact part availability before buying |
| Widespread sticky coating | Treat as a major condition concern |
| Failing zippers or extensive seam tape | Obtain a repair assessment or pass |
| Unknown wet-weather behaviour | Do not pay as though weather performance is proven |
An illustrative $80 tent needing a $45 pole component and $20 stake set totals $145 before any fabric work. A complete $130 tent in better demonstrated condition may be more useful. These are example costs, not market prices; enter actual quotes in the cost calculator.
Pack all components only after they are dry, and keep the pole and stake bags from puncturing the fabric. Count the parts as they go into the bag so an essential connector does not stay at the inspection site.
Sift, a free Facebook Marketplace filter and scam checker that also works on Kijiji, helps focus model searches on Chrome on a computer. Use listing-word filters and recorded prices to find local tents worth pitching before the first night away.
Questions people ask
Is a sticky used tent fly just dirty?
Not necessarily. MSR explains that damp storage can break down waterproof coatings, making them soft, sticky and no longer waterproof. Treat widespread tackiness or flaking as a condition problem, not a guaranteed quick-clean fix.
Does a two-person tent comfortably fit two people and bags?
Capacity labels do not settle your personal fit. Compare actual floor shape and dimensions with your sleeping mats, height and storage needs. Pitch the tent and check usable space and vestibules where possible.
Can a hose test prove a tent will stay dry in a storm?
No. A gentle agreed water test can reveal some leaks, but it cannot reproduce every wind, rain, ground or pitching condition. A dry visual inspection proves even less. Keep the test’s limits in your buying decision.
Sources
- 01MSR and Cascade Designs Keeping a tent clean and dry
- 02MSR and Cascade Designs Tent storage