Can a used garden shed be moved and rebuilt economically?
Quick answer
Treat a used shed as a removal and rebuilding project. Confirm the exact model, complete parts, condition, site requirements and a feasible move before paying. Inspect while assembled and again as pieces become visible. A shed that stands in the seller’s yard is not proof that it will survive dismantling or suit your foundation.
Check the destination before the listing price
Measure the intended site, access route and the area needed around the shed for assembly and maintenance. Establish the exact shed footprint, roof overhang, door opening and any required clearances. Check local property, setback and permit requirements with the relevant authority for your address; the seller’s installation does not establish yours is allowed.
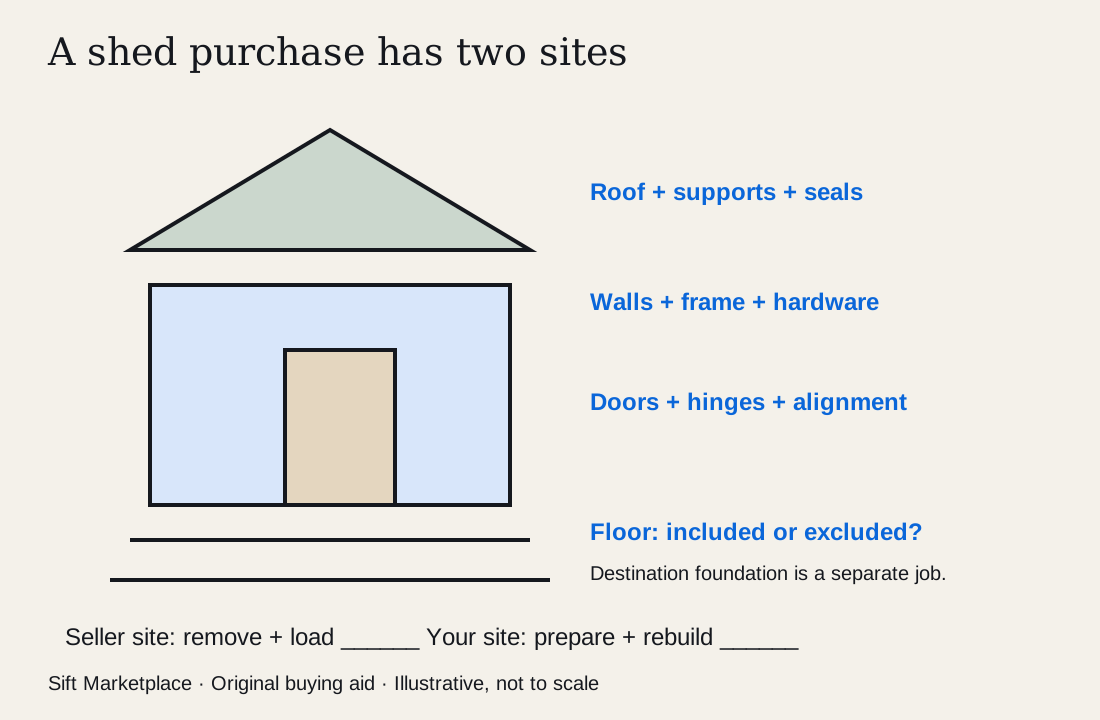
Obtain the model’s foundation and anchoring instructions. Lifetime’s foundation guidance says to use the owner manual’s foundation plan and allow for the foundation footprint. Do not assume existing loose paving or bare soil is suitable simply because the shed includes a floor.
Write down what you intend to store and measure the largest item through the door. Interior floor space, door width and shelf arrangement are separate constraints. A mower that fits inside may still be awkward to turn through a narrow entrance.
 Enlarge diagram
Identify the model and complete parts list
Ask for labels, dimensions, assembled photos on every side and the manual. For a kit shed, use its panel and hardware identifiers. Lifetime’s 60209 manual, for example, separates parts, wall/floor work, doors, anchoring and alignment. Those sections provide an inventory method; they are not instructions for a different model.
For a custom timber shed, obtain an assessment of construction and move feasibility rather than assuming a generic kit plan applies. Record any electrical supply or other fixed service that must be safely disconnected by an appropriate professional.
| Part | Evidence needed |
|---|---|
| Roof | Panels, ridges, supports, seals and fasteners identified |
| Walls | Correct panel count, corner pieces, windows and vents |
| Floor | Included or excluded; condition beneath stored items |
| Doors | Hinges, latch, frame and keys; ordinary alignment observed |
| Structure | Braces, connectors and attachment points intact |
| Base/anchoring | What belongs to the seller’s site versus what transfers |
Inspect beyond the tidy front photograph
Ask the seller to clear enough contents to see floor edges, lower walls and corners. Look for water staining, soft timber, corrosion, cracked plastic, distorted panels, damaged fastener holes and repairs. Inspect roof condition from a safe accessible position; do not climb an unknown shed roof or destabilize it during a viewing.
Operate the door normally. A rubbing door can reflect alignment, a poor foundation or damage; it is not automatically a cheap hinge adjustment. Note the symptom and investigate before pricing the repair.
Ask about leaks, snow or storm damage, previous moves and whether parts were glued or altered. Brittle, damaged or heavily modified components may not tolerate another disassembly. A dry viewing cannot prove that the roof is watertight in every condition.
Agree on removal, inspection and transport
Confirm who dismantles, who supplies labor, how parts are labeled and what happens if hidden damage appears. Do not assume you may detach anchors, remove services or leave unwanted debris. Agree on access hours, vehicle proximity and the condition in which the site must be left.
Photograph connections and number parts before disassembly. Keep fasteners associated with their sections, while verifying which must be renewed under the correct instructions. Protect large panels and glazing in transport. Obtain a suitable mover or installer’s quote if the project exceeds your equipment or experience.
If the shed is already dismantled, spread out enough components to reconcile the manual inventory. “All parts in the pile” is not evidence of completeness. Use the manufacturer’s manual lookup and confirm replacement availability for any damaged or missing proprietary piece before paying.
Compare the complete rebuilt shed
A hypothetical $250 shed might require $200 dismantling help, $150 transport, $400 foundation preparation and $250 reassembly: $1,250, before replacement parts. These invented amounts are a worksheet, not an estimate for your project. A free shed can cost the same amount apart from its purchase price.
Compare alternative sheds at the same completed scope and size. Separate a confirmed missing roof cap from uncertain structural repairs. Do not assume surplus panels have resale value. The cost calculator can hold known transport, parts and work costs; it cannot assess a foundation or predict damage during removal.
A useful seller message asks for the exact model/manual, all-side and empty-interior photos, leak/repair history and the removal agreement. Buy only when the reusable parts, destination and move are established. Negotiate identifiable replacement parts; seek assessment for structural uncertainty, and pass when the project only works if dismantling goes perfectly.
Sources
- 01Lifetime Model 60209 assembly manual
- 02Lifetime Shed foundation options
- 03Lifetime Assembly help and manuals