How do you test a used serger or overlocker?
Quick answer
Identify the serger’s stitch capabilities and needle system, then ask for a demonstration on woven fabric and stretch knit. Check the threading path, stitch formation, cutting and differential feed using the manual. Confirm the correct foot controller and accessories. A motor that runs or a loose thread chain does not prove it sews a sound seam through fabric.
Confirm which machine you need
A serger, also called an overlocker, trims and finishes an edge with multiple threads. It complements a regular sewing machine rather than automatically replacing buttonholes, zippers and every construction task. SINGER’s overview explains the basic distinction.
If you want coverstitched hems, check whether the listing is a dedicated coverstitch machine, an overlocker or a combination model. Count any conversion parts. Similar thread stands and multiple needles do not establish the same stitch capabilities.
Ask for model, serial label, needle system and included foot controller. Obtain the exact manual before visiting. Brother’s 1034D support page illustrates the user guides and technique references to look for.
 Enlarge diagram
Ask for a sewing demonstration, not just power
Ask the seller to have it threaded and ready with suitable thread and needles. Bring clean scraps of the woven fabric and stretch knit you expect to use. Agree on an ordinary stitch appropriate to the machine, rather than an ambitious technique the seller has never used.
Ask about servicing, repairs, broken needles, timing work and long periods of storage. A machine with no recent use may still be worthwhile, but “worked last time” is not a current demonstration.
Check that the power lead and foot controller match the model. A plug fitting the socket does not establish that an unrelated controller is suitable. Confirm local voltage requirements for imported machines.
Inspect with power off first
Look at the case, thread stands, spool pins, guide eyes and normal user-accessible covers. Check for damage, missing guards and a bent or incomplete thread stand. Inspect cords and plugs before connecting power.
Ask the seller to show the threading route according to the manual. Do not reach around needles, loopers or the cutting blade while the machine is energised. Routine access for threading should follow the manufacturer’s shutdown instructions.
Look for the correct presser foot, needle plate, waste tray if provided and small stitch-conversion parts. Missing tweezers may be easy to replace; a proprietary rolled-hem attachment or damaged looper is a different issue.
Sew samples in a repeatable order
- Start on stable woven fabric. Use an ordinary setup from the manual and sew slowly enough to observe feeding.
- Inspect both faces. Check that the seam forms consistently, the edge is trimmed cleanly and loops sit as intended.
- Try a normal seam intersection. Use a thickness appropriate to the model. Do not force a heavy stack through as a strength test.
- Switch to your knit sample. Check whether the fabric feeds without unwanted stretching or puckering.
- Demonstrate differential feed. Have the seller change it within the manual’s guidance and show the effect on the sample.
- Test another required stitch. If rolled hems or a specific thread configuration matter, confirm the machine has the parts and can demonstrate them.
- Check speed control and stopping. The pedal should provide controllable ordinary operation without unexpected surges.
Do not pull the fabric through to conceal poor feeding. A neat chain without fabric is not enough to judge a seam.
| Observation | Next step |
|---|---|
| Consistent seam on both fabrics | Useful evidence for those settings and materials |
| Uneven loops after proper threading | Further setup or service assessment |
| Fabric edge not cut cleanly | Check correct setup and blade condition through service guidance |
| Knit stretches or puckers | Demonstrate differential-feed adjustment |
| Needle strikes or unusual knocking | Stop and obtain qualified assessment |
| Works only when fabric is pulled | Feeding issue remains unresolved |
Distinguish setup from repair
Threading order, needle choice and tension can make a healthy machine sew badly. Give the seller a chance to use the documented setup and demonstrate again. If the problem remains, do not accept “just tension” as a diagnosed repair.
Do not attempt timing, blade alignment or internal repairs during the viewing. Ask a qualified sewing-machine technician for a quote and confirm parts availability. A heavily discounted unsupported model may cost more to make usable than a sound common one.
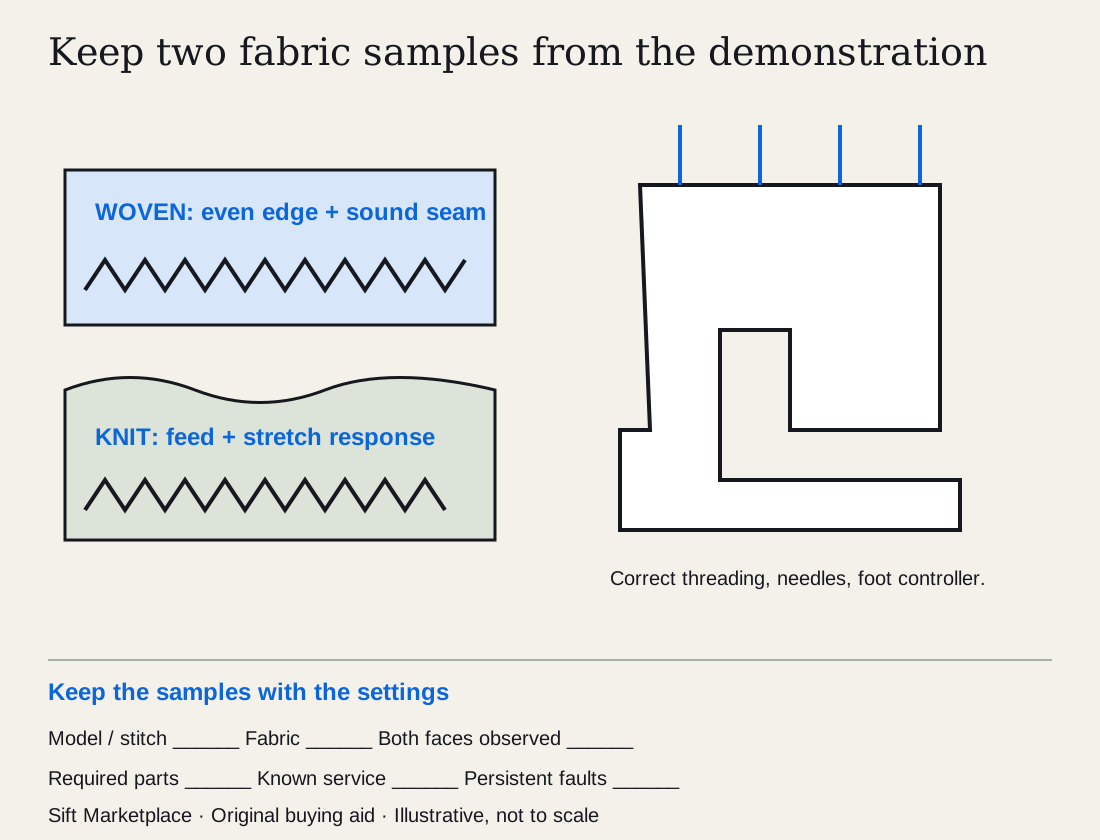
Keep sample pieces with their settings if the seller agrees. They provide a concrete record of what was demonstrated and help you reproduce the setup after purchase.
Compare the complete sewing setup
Keep the samples and a short stitch record together: model, fabric, thread configuration, selected stitch, permitted settings and observed result. Photograph both faces with the seller’s permission. A tidy chain without fabric or one good woven sample does not establish the knit or rolled-hem function you need.
Identify the actual compatible controller, essential foot/plate parts and accessories through the model’s manual. Brother’s 1034D support page separates its documents; use the actual model rather than assuming all sergers provide coverstitch or the same accessories. A large bag of unidentified feet can have little useful value.
In a hypothetical comparison, Machine A is $100 with $90 confirmed service, $35 required accessory and $25 preparation supplies: $250. Machine B is $200 with $25 supplies: $225. If A’s knocking or poor feed remains undiagnosed, its total is incomplete. Use actual accepted quotes in the cost calculator.
Ask: “Can we sew my woven and knit samples and demonstrate this required stitch with the correct parts? Please disclose service history and any persistent fault.” Record unresolved seams in the listing comparison tool. Search “serger” and “overlocker” for supported models that can demonstrate your task, rather than valuing thread cones as proof of condition.
Questions people ask
Is a serger the same as a coverstitch machine?
Not automatically. A serger or overlocker usually trims and finishes an edge; a coverstitch machine performs a different stitching job. Some combination machines do both, but confirm the exact model and required conversion parts.
Does a good thread chain prove it works?
No. It shows some stitch formation without fabric, but you still need to check feeding, cutting and seam quality on the materials you plan to sew. Use suitable needles, thread and settings from the manual.
Can a bad seam be only a threading problem?
It can be, but incorrect needles, settings, damage or timing problems can also affect stitching. Have the seller rethread correctly and demonstrate again. If it still fails, obtain a service assessment instead of assuming a cheap adjustment.
Sources
- 01Brother 1034D manuals
- 02SINGER Serger and overlock machines